


If you've ever enjoyed a glass of mead and wondered, "Could I make this myself?" the answer is yes, probably!
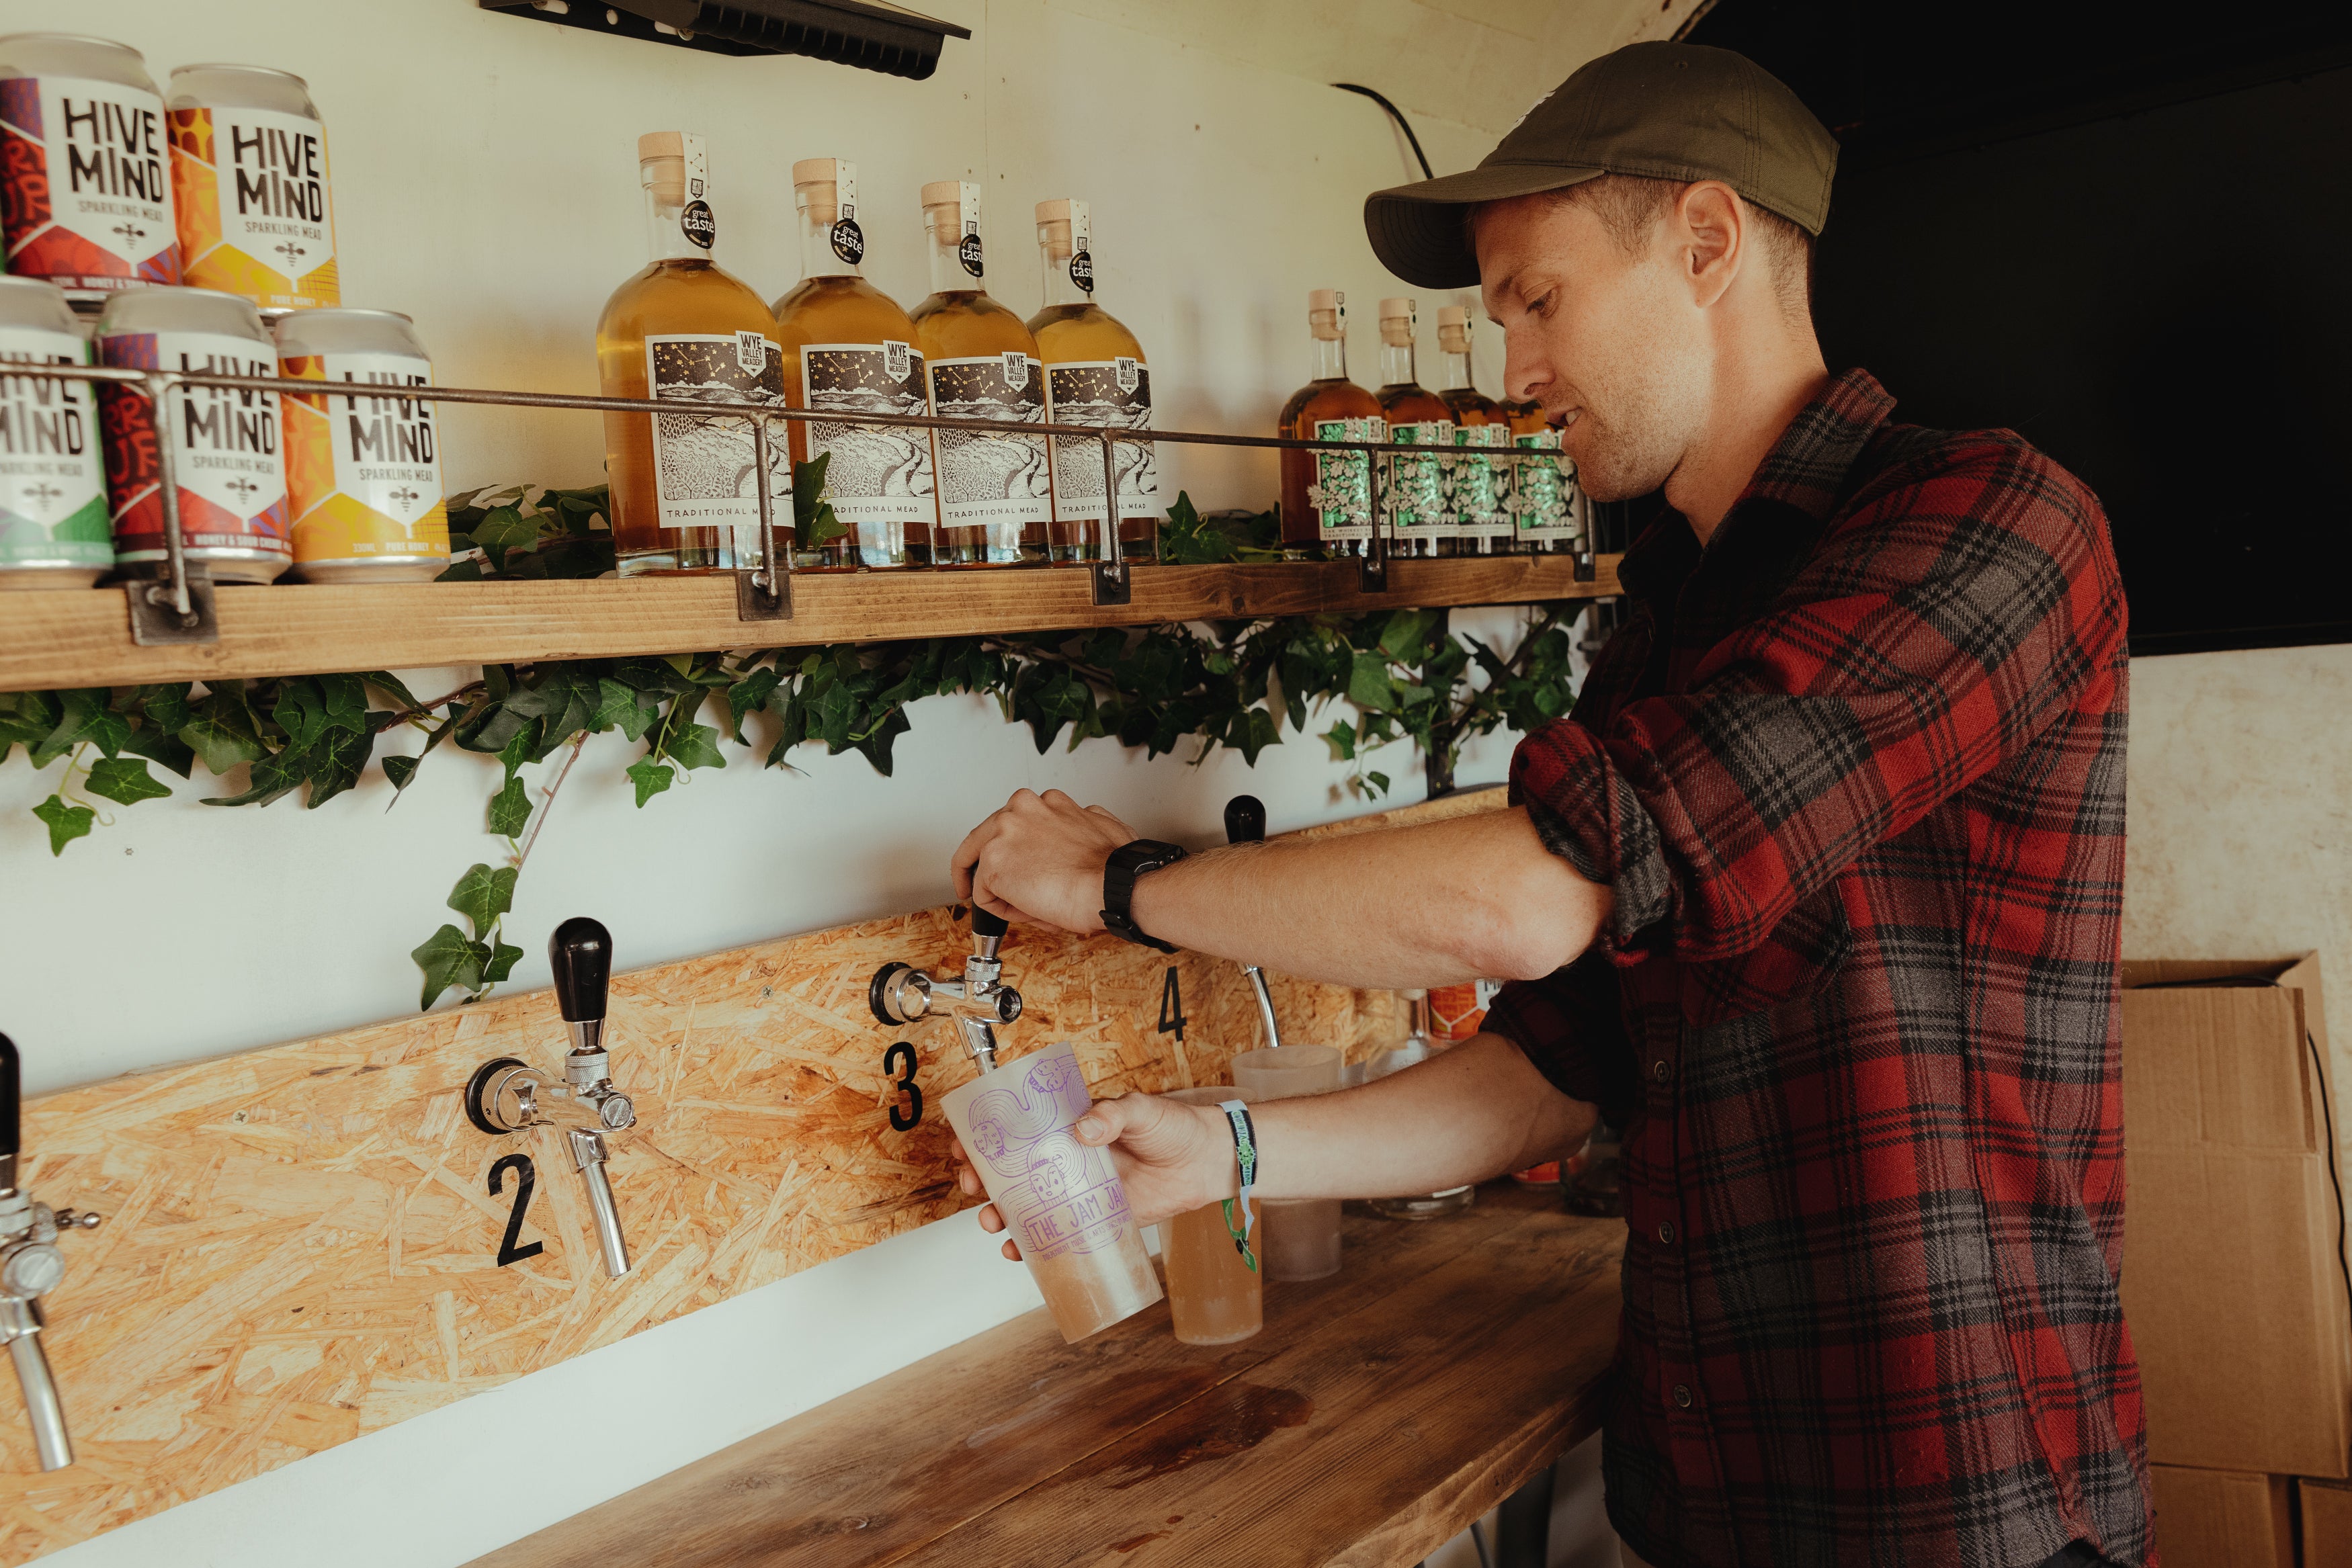
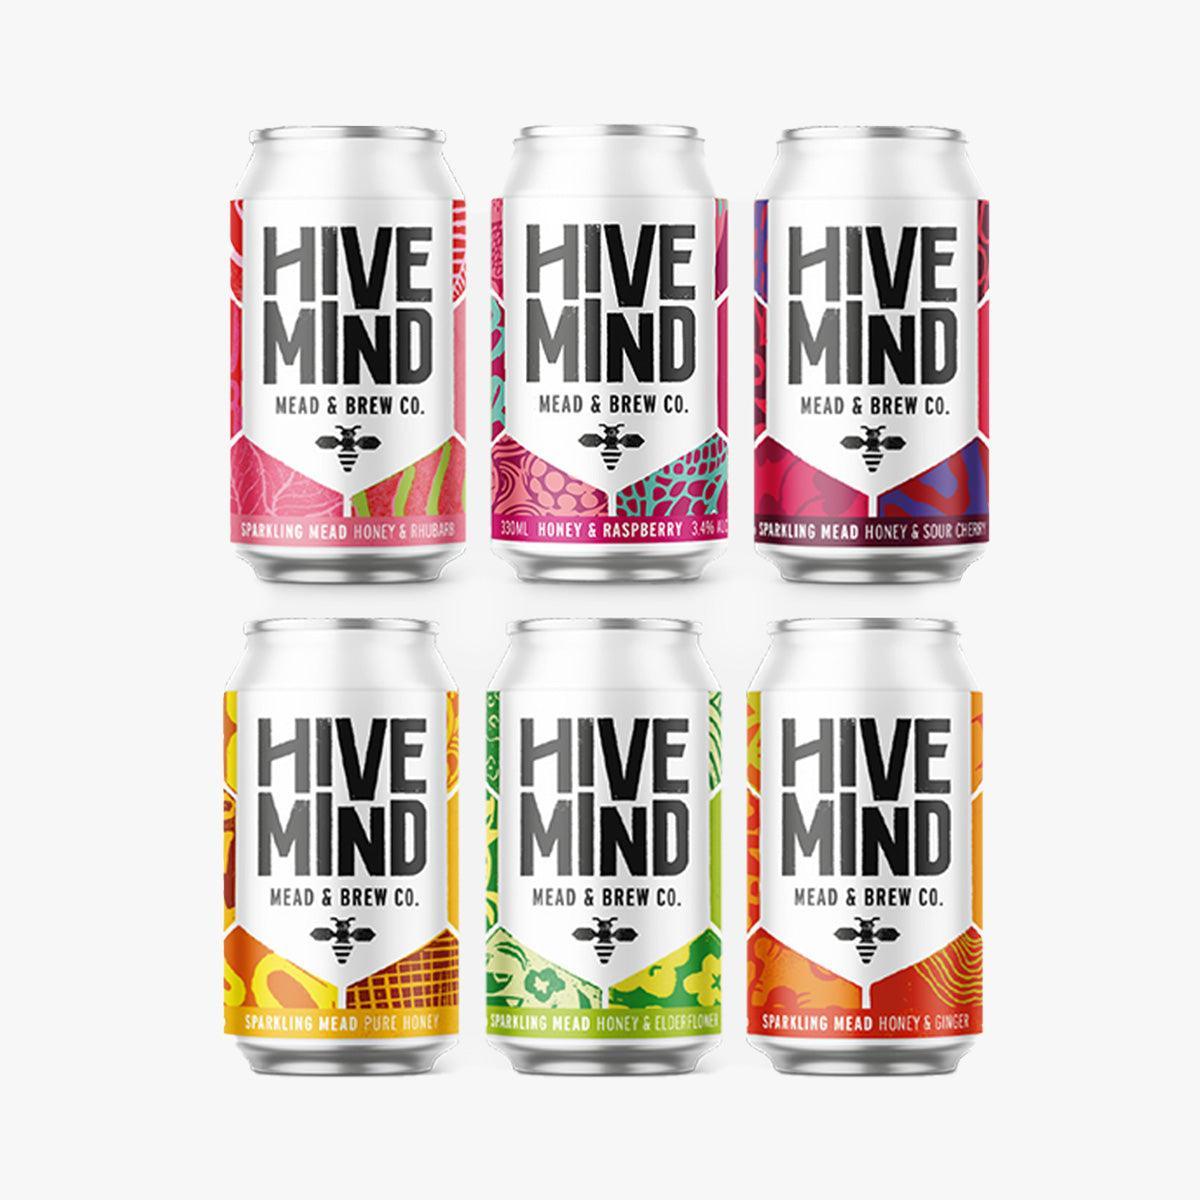
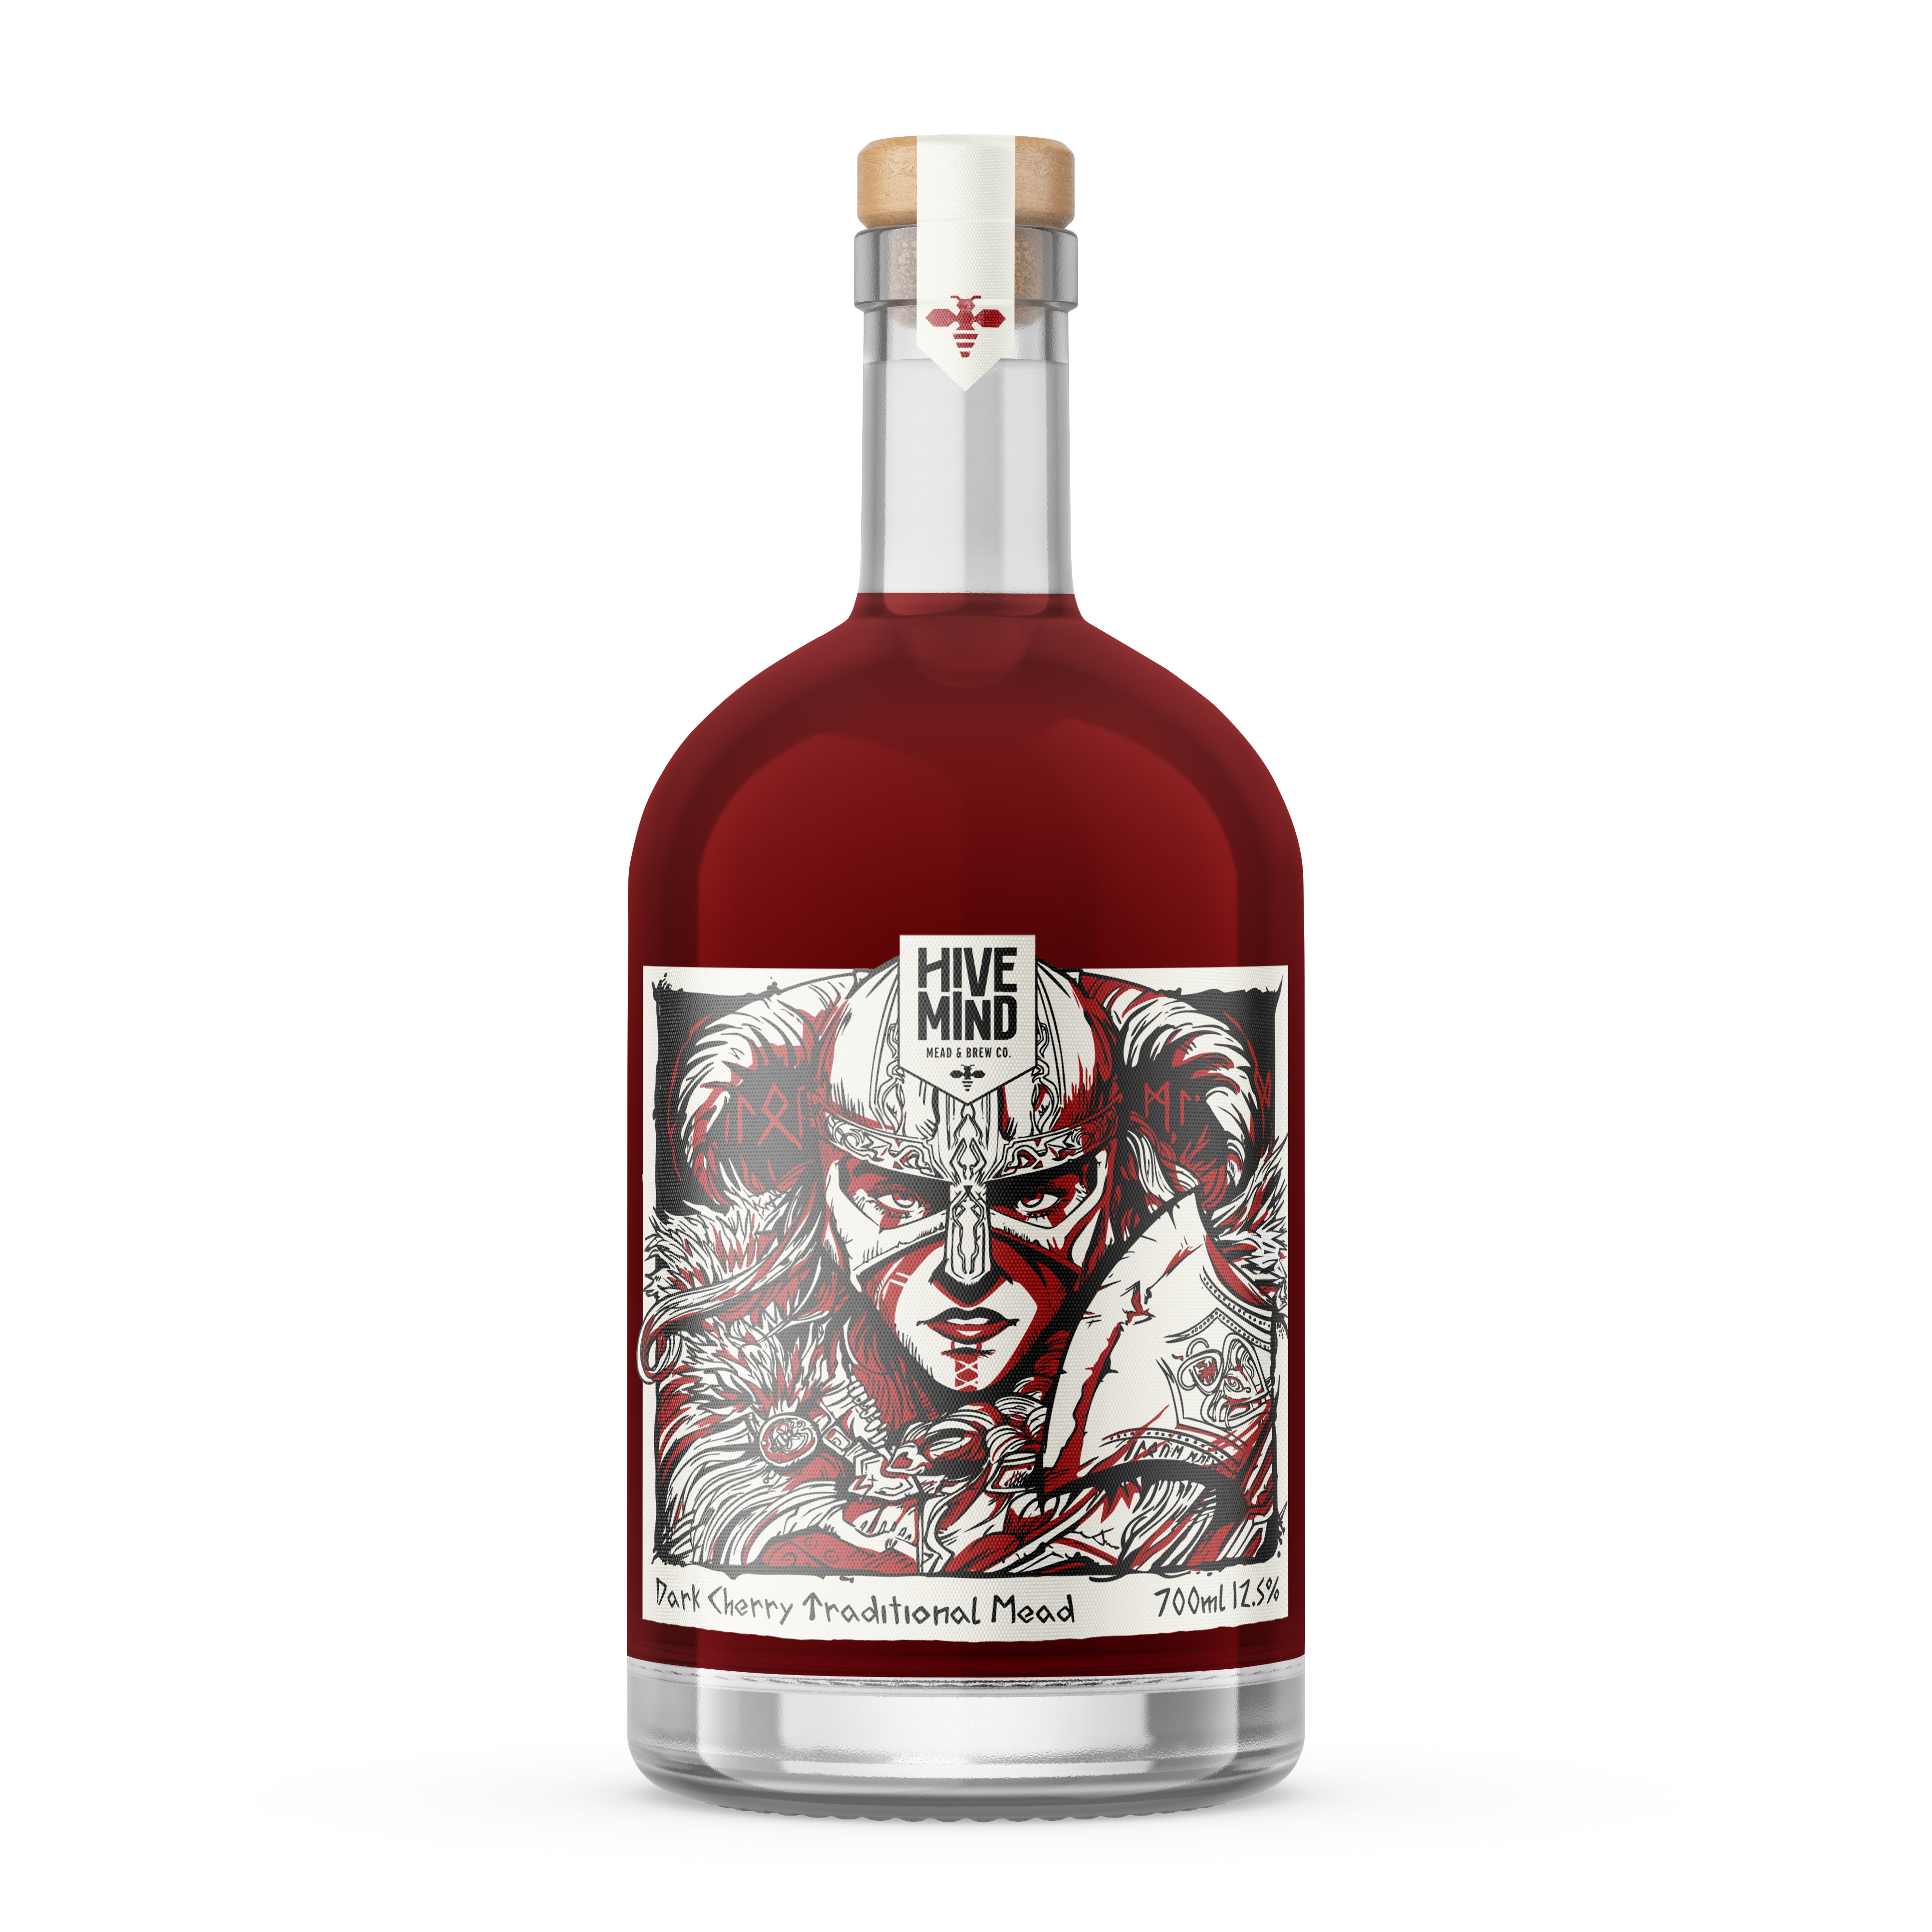
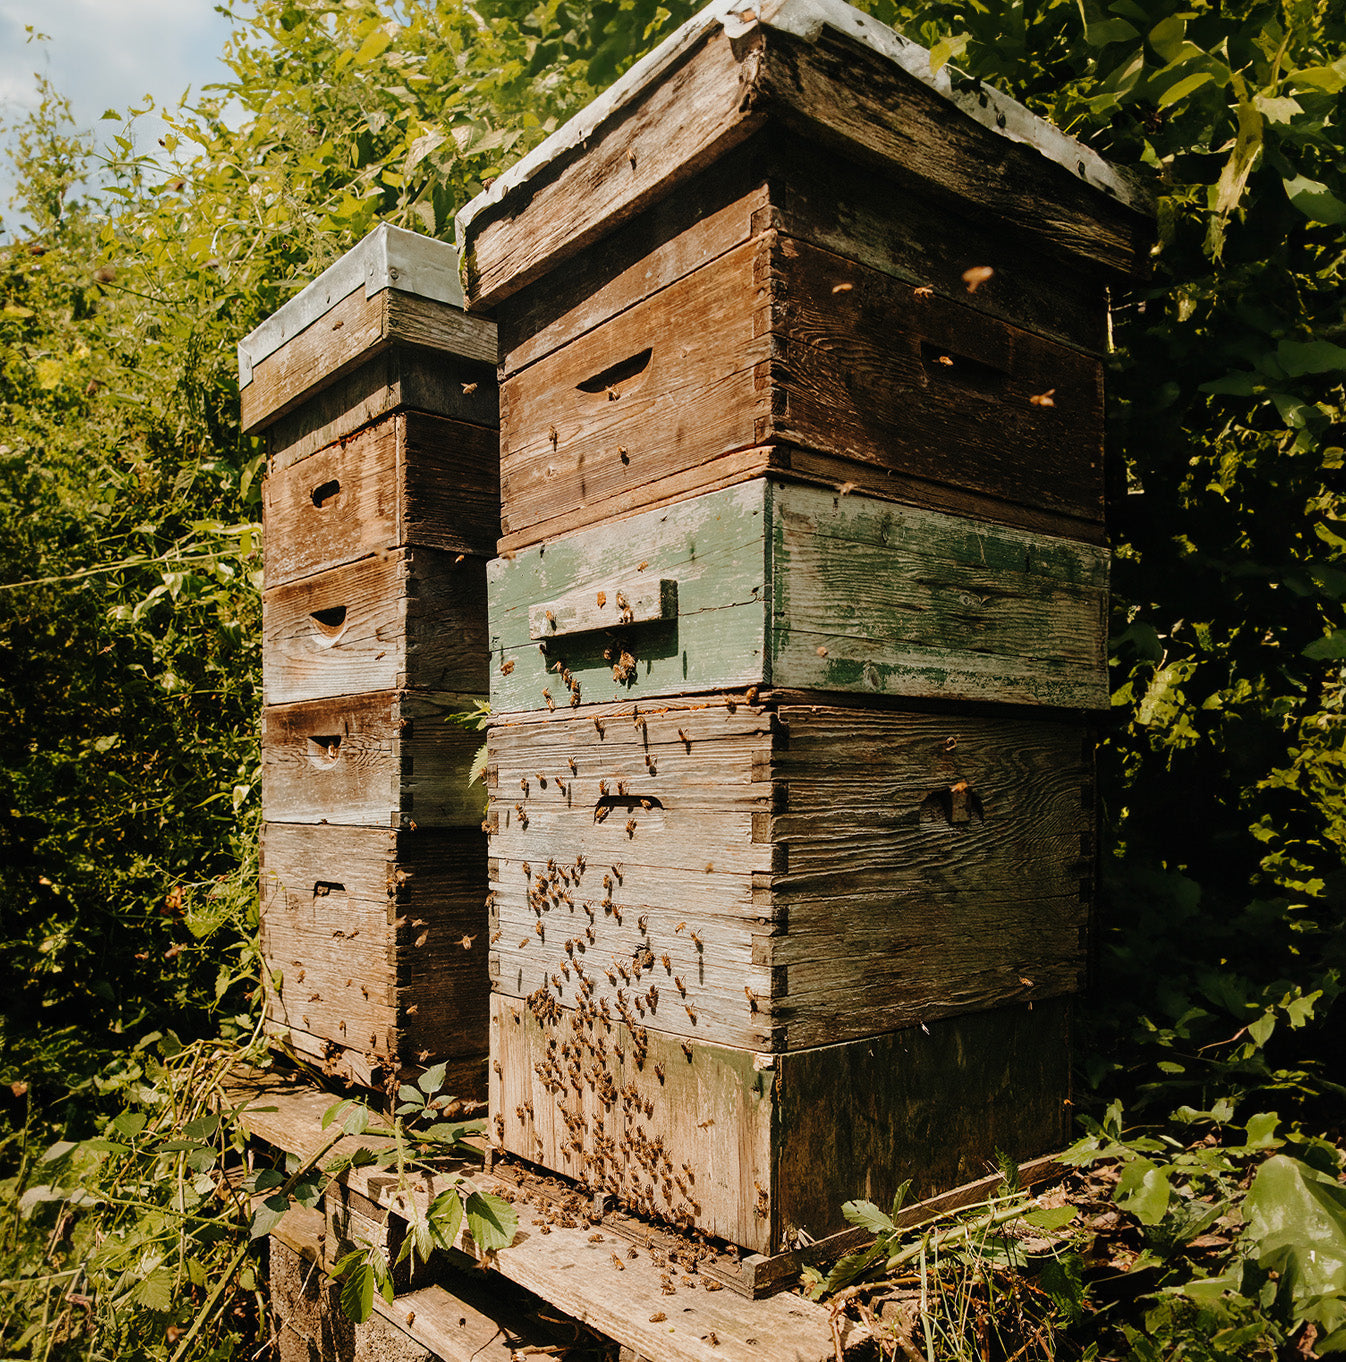
Whilst there are a few wonderful meads you can buy, especially from Hive Mind Mead 😉 it can be a lot of fun to create your own. In fact, that's exactly how Hive Mind Mead began. Long before we were filling bottles and shipping orders, we were homebrewing small batches of mead at home using honey from our own hives. What started as a simple experiment soon became an obsession, and eventually a business. It's a slippery slope, one demijohn leads to another, and that leads to 5000L fermentation tanks, you've been warned!
Mead is one of the oldest alcoholic drinks in the world, made simply by fermenting honey with water and yeast. Historically it would have fermented with wild yeast that was present in the honey itself, but now there are yeasts specifically designed for this job.
Despite its ancient roots, it's surprisingly simple to make at home, and you don't need a brewery's worth of equipment to get started. Just find your local beekeeper, get some real honey, and a few bits of equipment and you too can have your own meadery.
We run courses here at the meadery each month teaching the fine art of mead making - so please do come and join us on one of those. But in the meantime, if you're curious about home brewing and looking for a new hobby, here's our beginner's guide to making mead at home...
What you'll need for making mead at home
For a simple 5-litre batch of 8% mead, you'll need:
- 850g honey (locally sourced is best)
- Approximately 4.5l water (enough to make 5 litres in total including the honey)
- Wine or mead yeast
- Yeast nutrient - Just to keep your microscopic mead workforce happy!
You'll also need some basic brewing equipment:
- A 5 litre fermentation vessel like a demijohn or alternatively large spring water containers sold in supermarkets work well.
- Airlock and bung.
- Sanitiser (to clean all equipment and vessels).
- Siphon tube (to move the liquid from one vessel to another).
- Bottles for ageing and storage.
Most homebrew shops sell starter kits containing everything you need. We recommend Brew2Bottle and Wilko Online for homebrew supplies.
Step 1: Sanitise Everything
Before you start, thoroughly sanitise all of your equipment.
This might not be the most exciting part of the process, but it's one of the most important. Wild bacteria can spoil a batch of mead before it has a chance to ferment properly, and that can be very upsetting.
Mix up your steriliser according the the instructions on the packet. Put some of this steriliser liquid inside your fermentation vessel and shake it so it contacts all areas of the container. A bucket can be useful to submerge all the equipment, so everyting can remain sterilised until you need it.
A few minutes spent cleaning now can save weeks of disappointment later!
Step 2: Make Your Must
The mixture of honey and water that becomes mead is called a "must".
Warm the honey slightly by blending it with hot water from the kettle to make it easier to pour, then add it to your fermentation vessel. Top up with water until you reach the 4.5-litre mark and stir thoroughly until the honey is completely dissolved.
Do not boil the mixture as it helps preserve more of the honey's natural aromas and flavours. Also allow your must to cool down before attempting to add the yeast as too high a temperature will prevent fermentation from starting
Step 3: Add Yeast
Once your must is at room temperature (around 20 degrees celsius is best), add your yeast according to the manufacturer's instructions.
Add the yeast nutrient too. Honey is rich in sugars but naturally low in some of the nutrients yeast needs to thrive such as amino acids
Fit the airlock (with sterilising liquid inside) and place the vessel somewhere with a stable temperature, ideally between 18°C and 22°C. The info on the packet of yeast will tell you what temperature your chosen yeast is happy at. Keep the vessel somewhere out of direct sunlight, and never let it get too warm as this can stress the yeast and create unpleasant flavours.
Within a few hours, you should start to see signs of life in the form of small bubbles rising.
Now comes the hardest part: waiting.
Step 4: Fermentation
Within a day or two, you should start to see signs of fermentation increasing. Bubbles will begin passing through the airlock as the yeast converts sugars into alcohol.
Primary fermentation usually lasts between two and four weeks.
Once the bubbling has stopped, and the liquid has gone clear (around 6 weeks ish), transfer the mead into a clean vessel. This process, known as racking and separates the mead from the layer of sediment (called 'Lees', or dead yeast) that settles at the bottom. This should ensure that you end up with a clear product and also less likely to have off flavours from lingering yeast in your mead.
Step 5: Ageing
Technically, you could drink your mead at this point. It will be dry as all the sugar in the honey will have been eaten by the yeast. But fresh mead can taste a little rough around the edges. A few months of ageing allows flavours to mellow and develop, producing a smoother, more balanced drink.
Many home mead makers find that their mead improves dramatically after three to six months.
Once it has aged sufficiently, and you are confident that there is no yeast remaining in the vessel, you could add in more honey to make a sweet mead instead of a dry one. Add some honey back in, and reapply the air lock - this way you will know if it is fermenting again if the bubbling resumes.
Can You Add Other Flavours?
Absolutely. One of the joys of mead making is experimentation (have you seen our small batch series?). Popular additions include:
- Fruits such as berries, cherries or apples
- Spices like cinnamon, cloves or ginger
- Citrus peel
- Vanilla pods
- Hops
Every addition creates a different style of mead, giving you endless opportunities to create something unique. We'd probably advise you master a simple mead first, before going too wild!
Common Beginner Mistakes
If it's your first batch, try not to overcomplicate things.
A few common mistakes include:
- Using poor-quality honey
- Not sanitising equipment properly
- Fermenting at temperatures that are too hot (which can lead to uncontrollable fermentation and a possibility of painting your walls with mead!)
- Bottling too early
- Constantly opening the vessel to check on progress
Remember, mead has been made for thousands of years. It doesn't need to be perfect to be enjoyable. Start Simple!
Like many hobbies, the first batch is all about learning.
Start with a basic traditional mead made from quality honey, water and yeast. Once you've got the fundamentals down, you can begin experimenting with different honeys, fruits and flavour combinations.
Who knows? You might just discover your new favourite hobby.
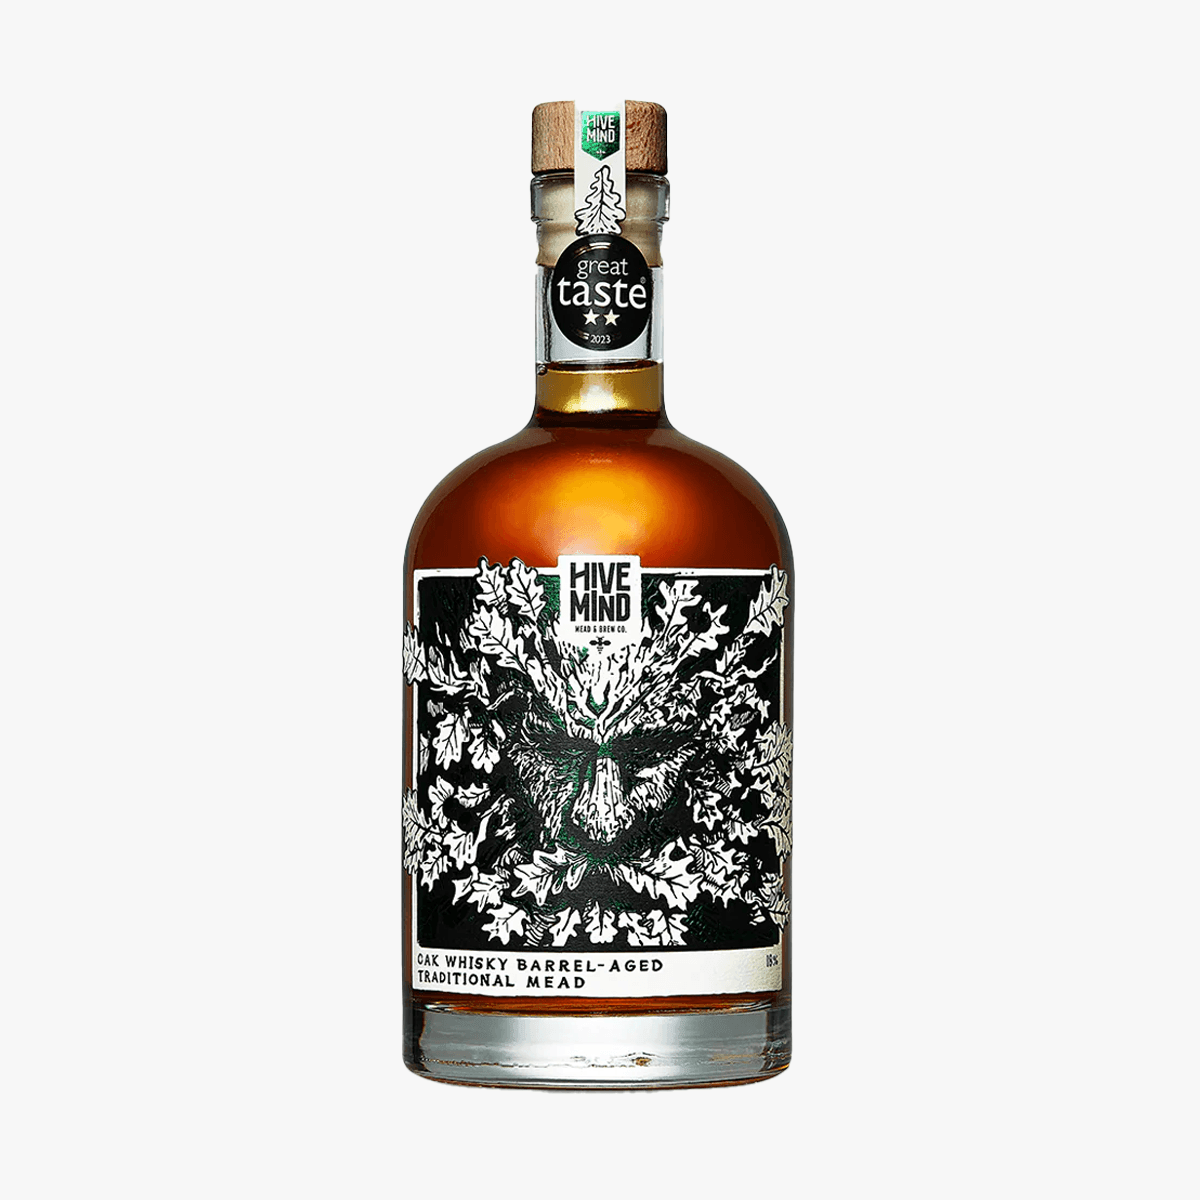
And if you'd rather leave the brewing to us, we've got a few bottles ready and waiting.
Cheers!


Share: